

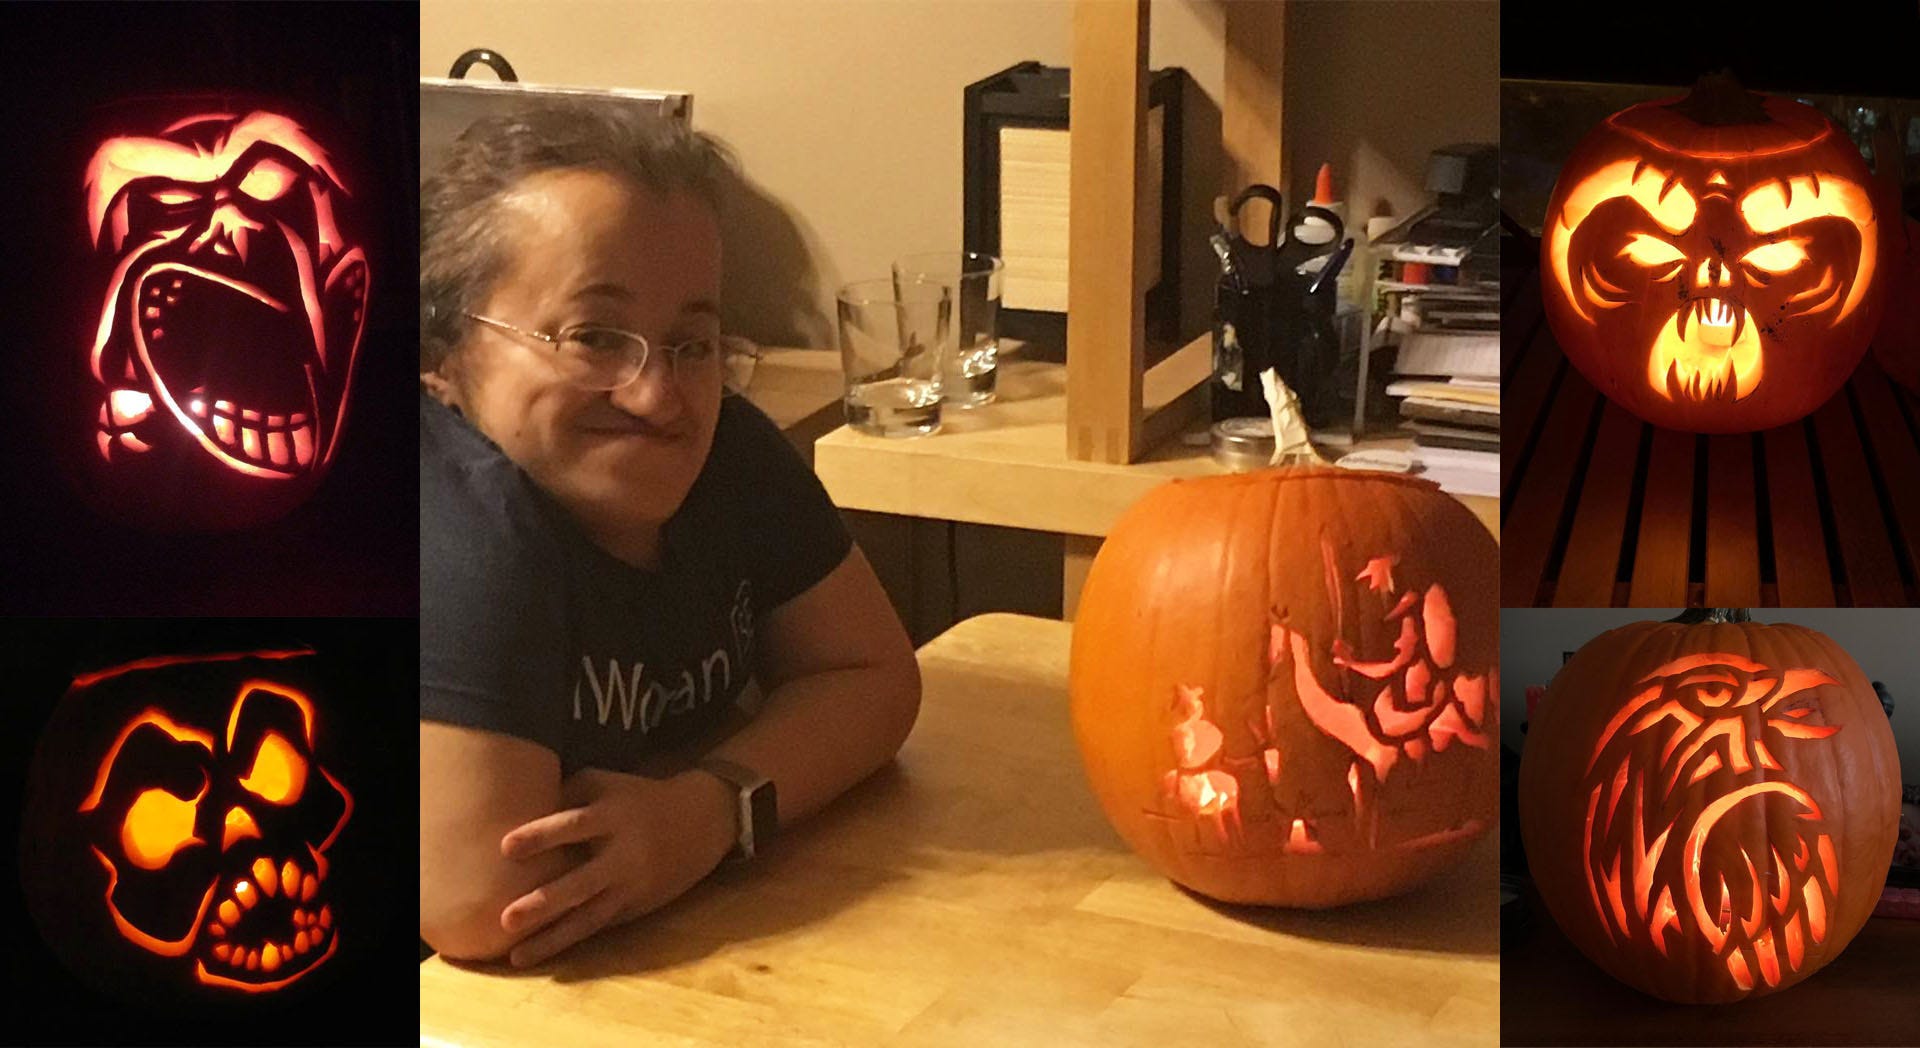
Halloween is one of my favourite holidays. Not so much because I’m into the spooky and horror aspect of the season, but because it seems to be the one time of year when we’re permitted to really play with our creativity. Adults and children alike will raid their closets or the local dollar store to come up with these amazing and elaborate costumes and we’re increasingly seeing some imaginative house decorating as well.
For myself, however, I’ve really gotten into pumpkin carving. I think creating jack-o-lanterns dovetails nicely into my professional artistic practice as a painter who loves to play with light.
Mostly though, they’re just really fun and much easier to pull off than you might think. Here are some of my favourite pumpkin carving tips:
Tip 1: Don’t be afraid to get messy
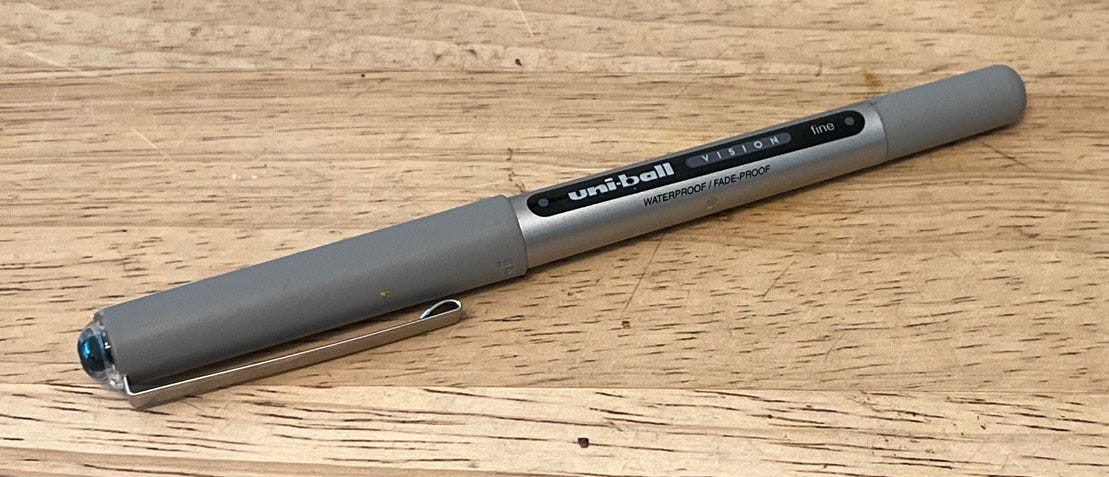
I like to start by sketching my design using a black marker or gel pen. We are big fans of the Uni-ball roller pens and tend to buy them in bulk for all our writing and doodling needs. These are also great for applying your design to your pumpkin.
Sketch loose. Try things out. If you need to make adjustments, just wipe out the line with a bit of wet paper towel.
Once you’re finished carving your pumpkin, just squirt the surface with some Windex or similar and wipe all the ink off cleanly.
Tip 2: My pumpkin carving weapon of choice
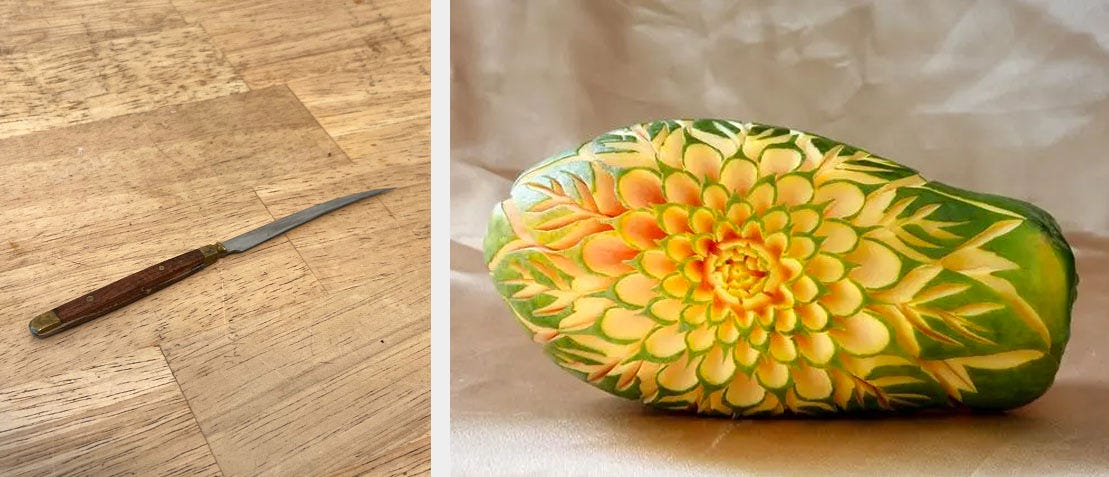
My mother is from Thailand where they have a tradition of vegetable carving that will blow the minds of even the most talented pumpkin carvers.
This Thai veggie carving knife can be easily purchased online and that tiny tip can give you incredible precision in your pumpkin carving. My other pointers that follow can be applied to any knife; however, if you’re able to get your hands on one of these beauties for next year, I highly recommend it.
Tip 3: The pumpkin as art medium
I’ve learned over the years that, like any kind of art-making, the pumpkin itself is a medium in the same way that clay or paper are all different types of media. It has its particular limitations that you need to account for when carving.
For instance, if you pop the top on your pumpkin and discover its flesh to be rather coarse and granular, you probably won’t be able to work a lot of detail into it. Regardless of what you might’ve originally planned, don’t be afraid to adapt to what the pumpkin itself can handle.
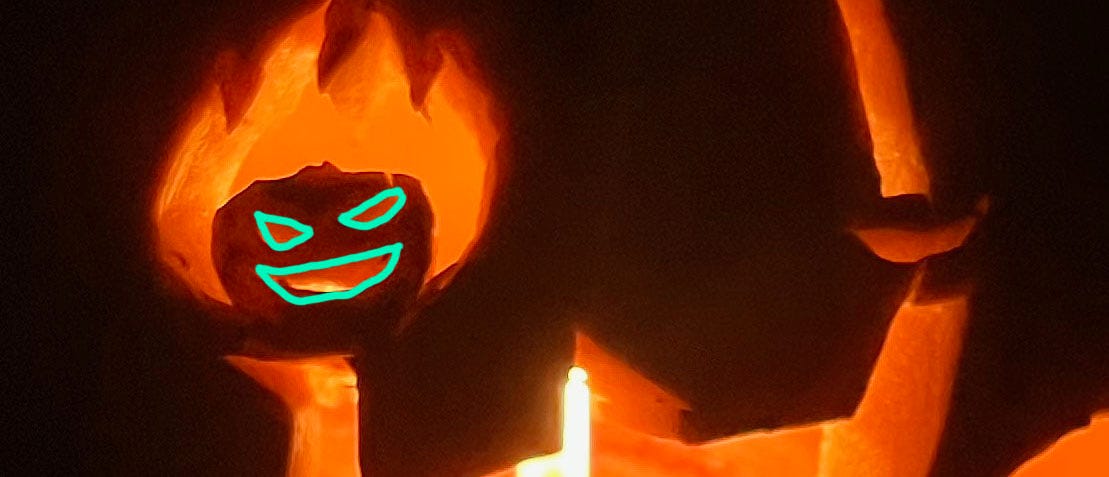
If however you do luck out with a pumpkin that has relatively firm flesh, start by carving the smallest details in the design first. In the above example, the very first thing I carved was the tiny face on the flaming jack-o-lantern because I wanted as much solid pumpkin around it to ensure that the working of the knife wasn’t going to break off any other bits.
Tip 4: Break the complex down into the simple
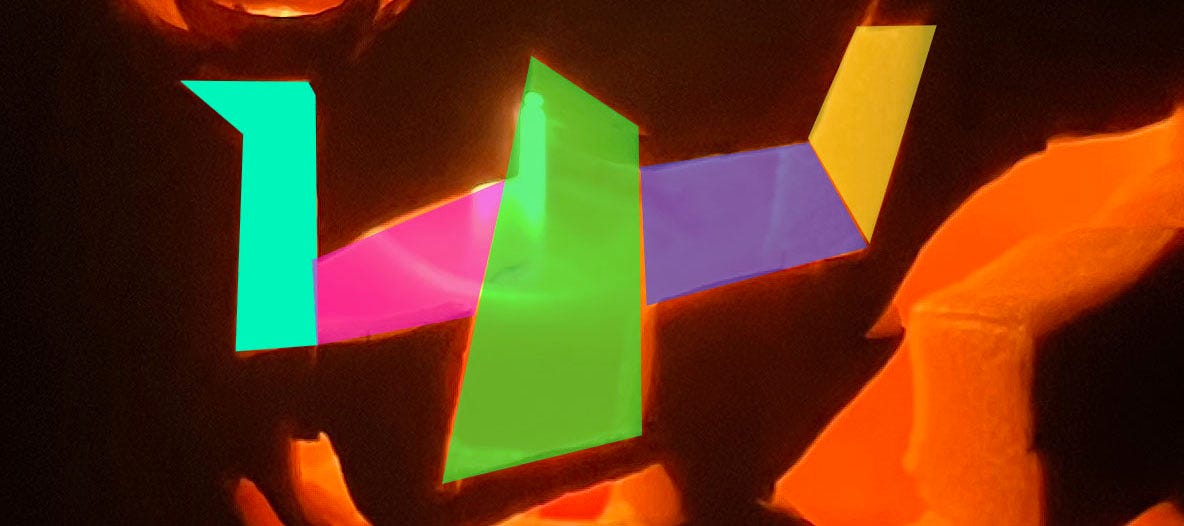
This trick I have to credit to my engineer father who was the first to teach us young pumpkin carvers how to wield our knives.
He said that folks will often break off parts of their design because they want to carve out too much too quickly. The example he used was a toothy jack-o-lantern smile where folks would carve out the whole mouth at once and then break off the teeth as they tried to force the piece loose.
Instead, break the complex shape down into its simplest parts—rectangles and triangles are best—and then carve and push out each of these pieces individually. Any complex shape can be carved this way.
(Also virtually any complex task can be broken down this way too, but I’ll save that for another post…)
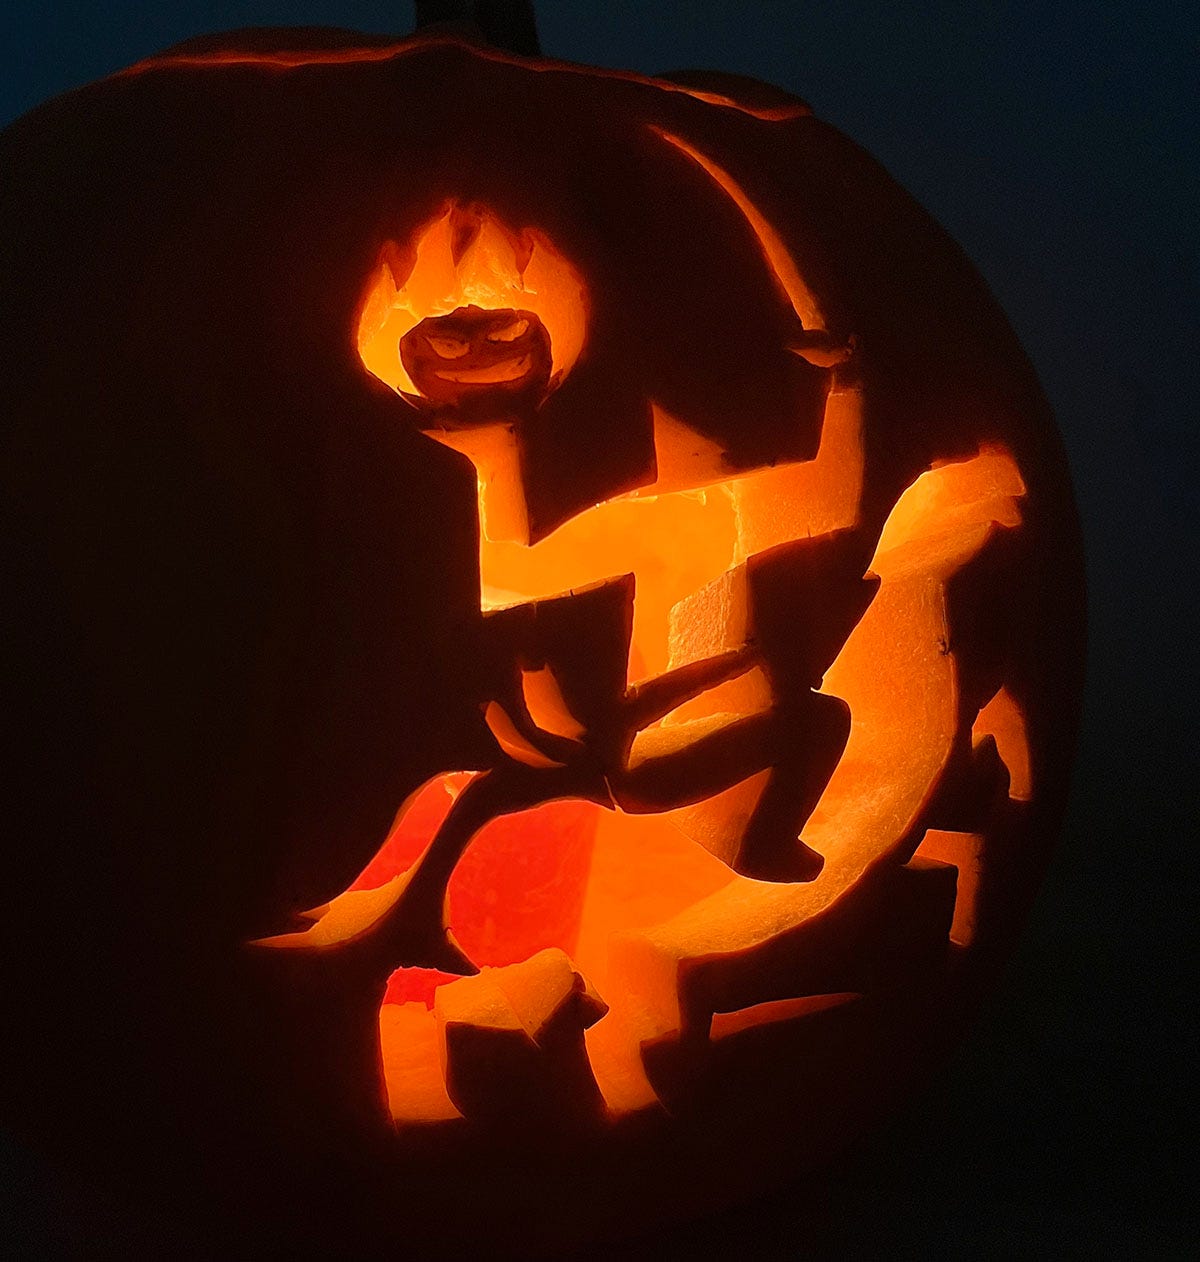
And here’s the finished pumpkin! It was inspired by a doodle by danielmiyaresdoodles and it’s the first pumpkin I’ve done in years. Even though I was feeling pretty rusty when I started, I had a great time with it.
Happy Halloween and enjoy your pumpkin carving adventures!
Will DEFINITELY be employing these tips with our Junior Youth Group next year. LOVE all this High End VERY creative pumpkin carving.